 |
| photo credit :: https://unsplash.com/@joannakosinska |
This is the 6th Annual Ornament Blog Hop sponsored by Heather Powers of Humblebeads.
This is an inclusive creative challenge. Participants may make something inspired by Hanukkah, Kwanzaa or Winter Solstice themed decorations along with traditional Christmas ornaments.
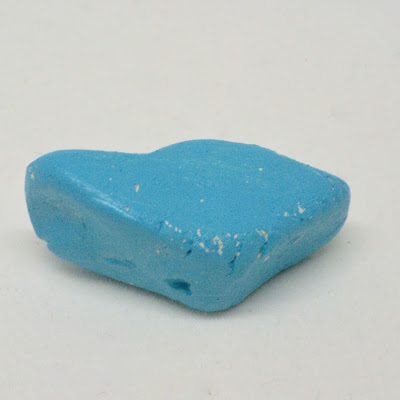
I made a traditional Christmas ornament For my ornament, I grabbed a lesson from Heather Power's book Bead Making Lab. In her book, she demonstrates how to make a blue bird of happiness. I used white air-dry clay which is a new material for me. I found it easier to work with than polymer clay.
 |
| Blue bird made from white air dry clay |
After applying a little more teal blue paint, I drew some feathers with a black fine-point permanent marker and applied some gray acrylic craft paint to create my blue bird. I love the folk art appearance that bird has after the gray is used.
 |
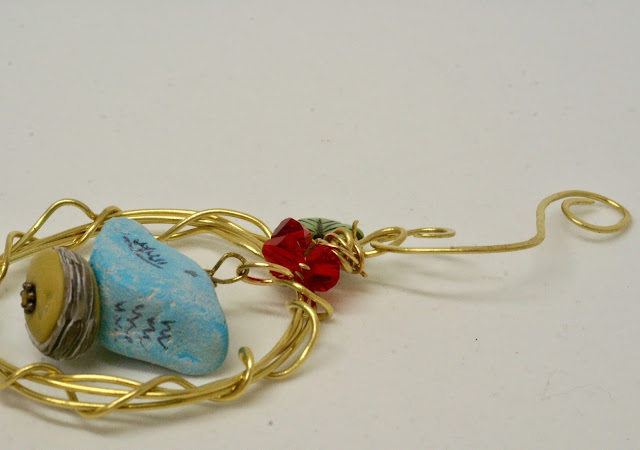
| Blue Bird of Happiness Ornament by BayMoonDesign |
For the ornament portion of this, I adapted directions that Heather Powers posted on a nest ornament blog that she did a while back. My ornament is similar, but it is different too.
Supplies:
Blue bird-Bay Moon Design
Disk bead - Bay Moon Design
Czech glass leaf
3 red 4mm red crystals
1 brass 3" headpin
1 brass 7mm jump ring
34" brass color 18 gauge wire
3" brass color 22 gauge wire
Directions:
1. Cut 4" of the 18 gauge wire, create a large spiral on both ends and hammer with a ball peen hammer.
2. Form a 2" circle with the remaining wire, wrap the wire around into a circle two more times to form the wreath/nest. Continue wrapping the wire around the nest to form the texture on the nest. Leave a 4" tail of wire. Form a loop at the top of the nest and wrap the remaining wire around the loop.
3. String the 3 crystals on the 24 gauge wire, center and twist the wire to hold the crystals in place. Wrap the wire under the top loop.
4. Put a headpin through the Czech bead and make a loop and put the loop through the wire of the nest to attach securely.
5. Attach the wire hanging to the nest.
 |
| Blue Bird of Happiness Ornament on Handmade Hanger by BayMoonDesign |
I plan to give this ornament to by daughter for her Christmas tree.
 |
| photo credit by :: https://unsplash.com/@evelynchin |
A special thanks to Heather Powers for organizing this blog hop and also for sharing her knowledge and skills.

Great way to use some new skills to create a beautiful ornament.
ReplyDeleteThanks for the encouragement.
DeleteWhat a lovely ornament, it has a little bit of everything Christmas-y. And I like that you included a photo of where it is going to hang.
ReplyDeleteThanks! I have to admit the Christmas tree photo is a stock photo from Unsplash.
DeleteLove how you used this opportunity to practice what you've learned and didn't just stick to ready made stuff! Your vintage looking bird is so pretty!
ReplyDeleteThank you!
DeleteWhat a perfect nest bead for your cute bird! Thanks for including a tutorial.
ReplyDeleteYou are very welcome!
DeleteSuch a sweet little bird! Thanks for reminding me that this is in Heather's latest book. I have a project that needs a bird to a very specific size and now I remember that I can make one of my own! Thanks for sharing your awesome ornament! Enjoy the day! Erin
ReplyDeleteGreat ornament Kathy, nice tutorial! Merry Christmas!
ReplyDeleteSue, thanks!
DeleteOh, this is such a cute ornament! The bluebird is fab, and that pop of shine with the brass is so festive! Beautiful job!!
ReplyDeleteBeautiful ornament! I love everything about it. You did a great job creating the bird and nest. It makes me feel so Christmas-y just to look at it.
ReplyDelete